No More Shed
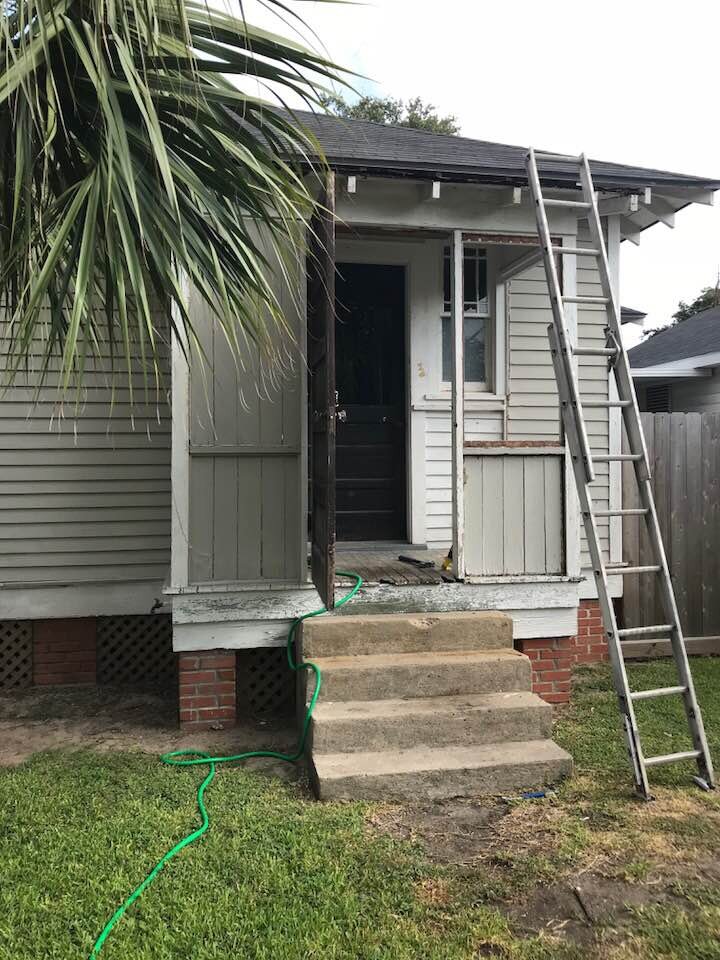
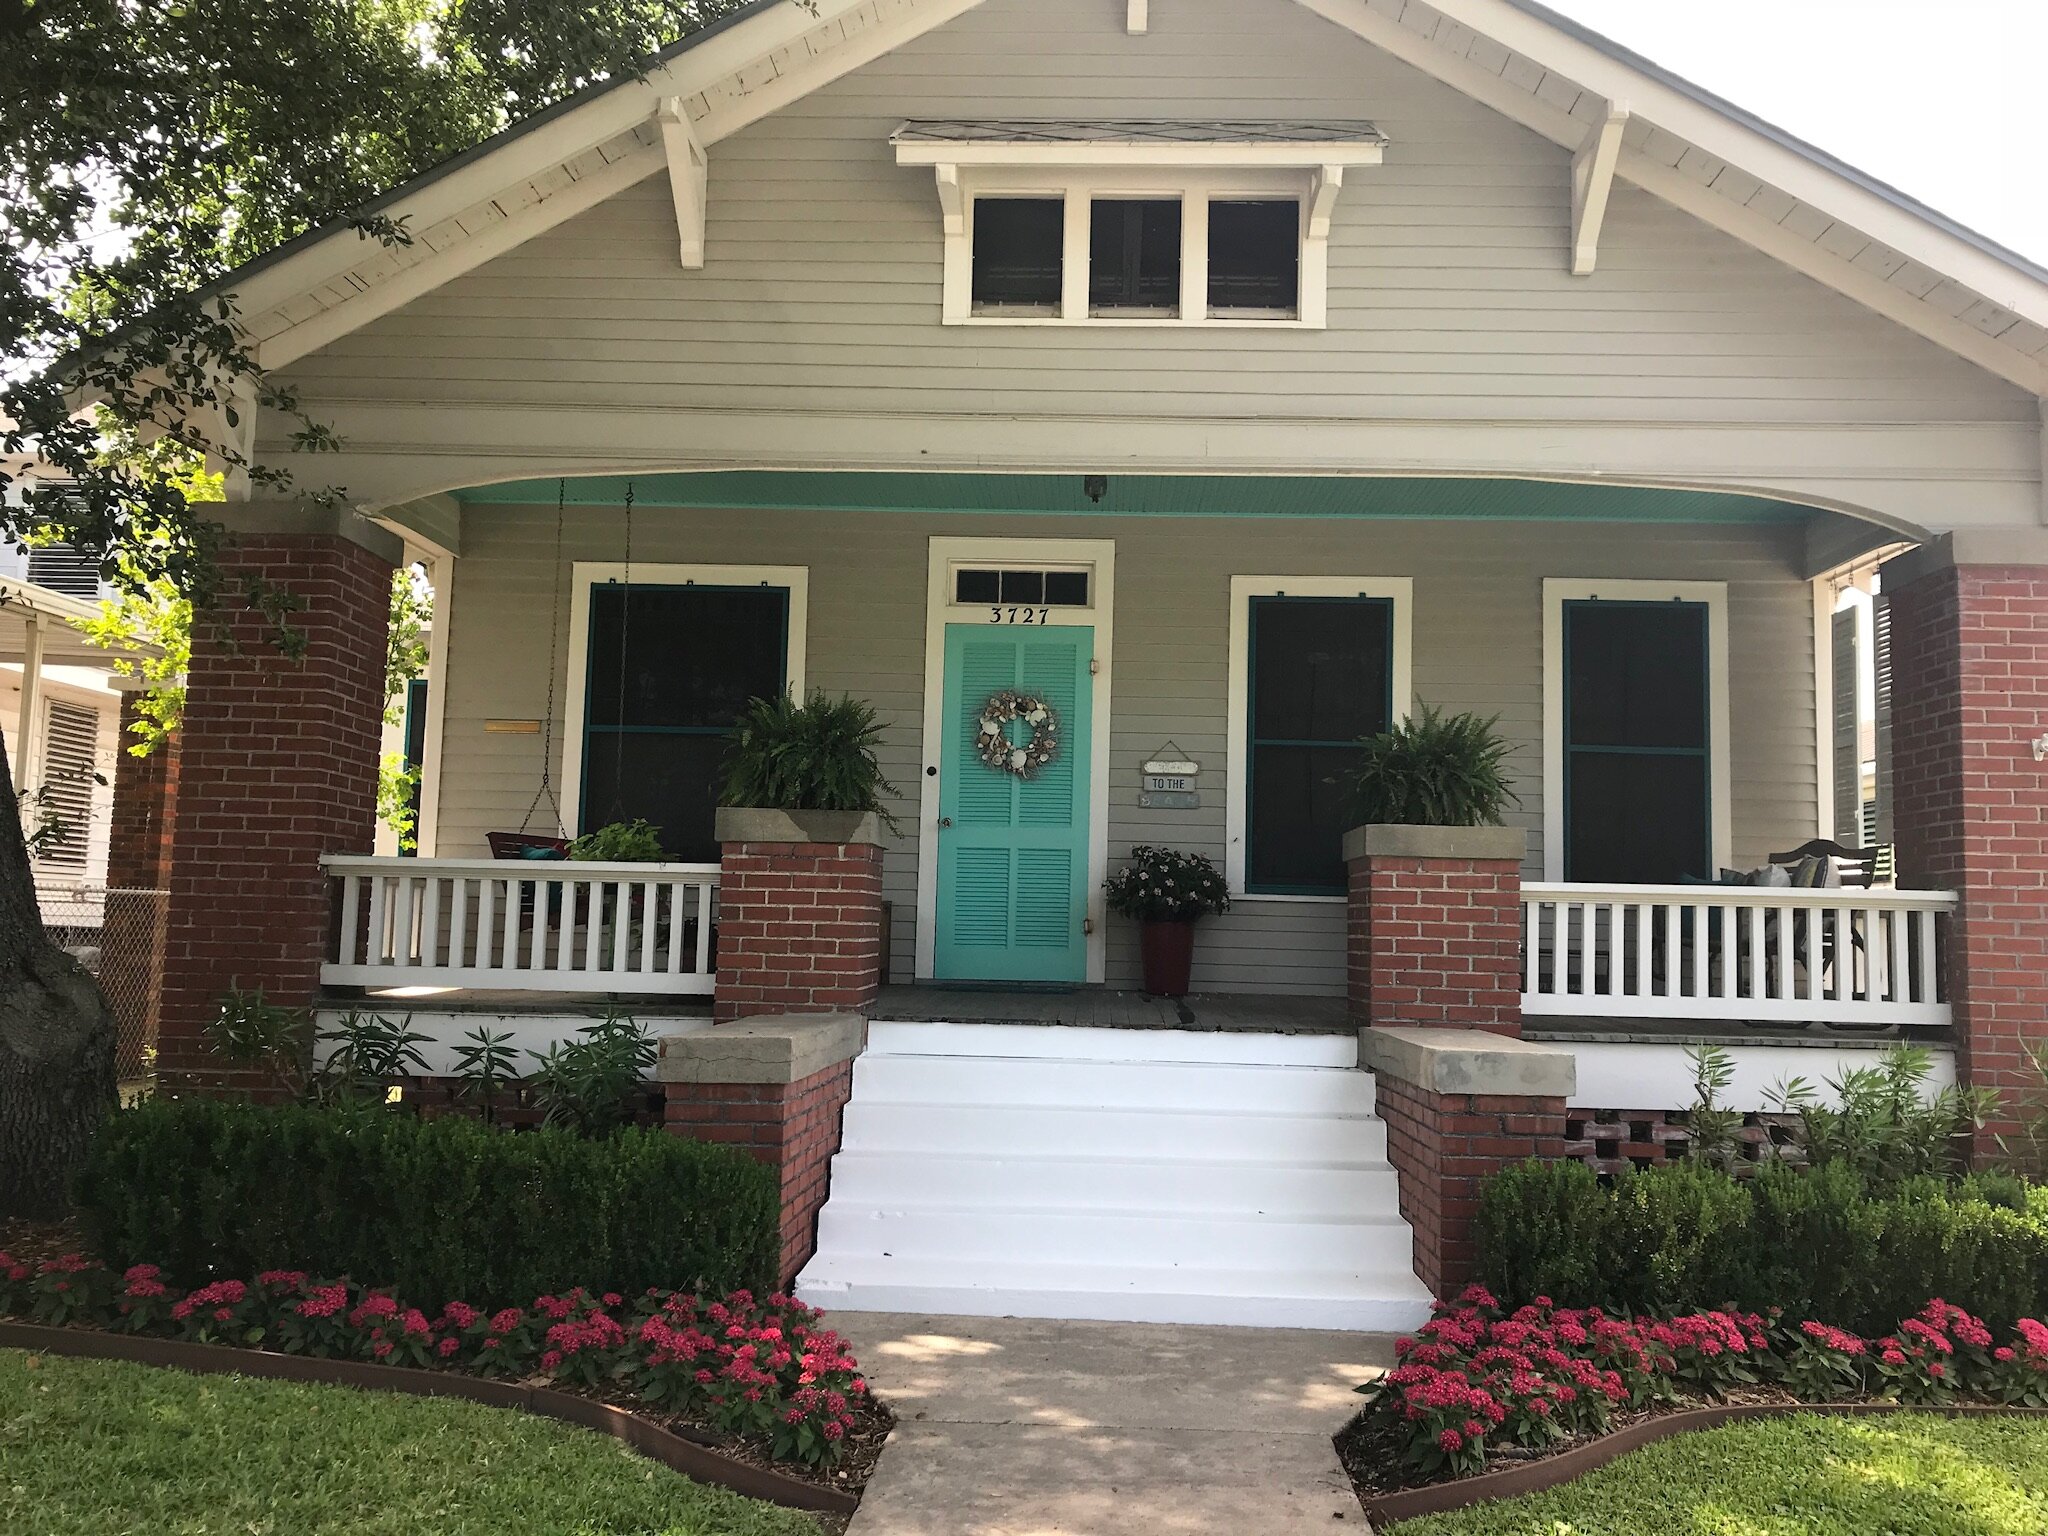
When I purchased The Bungalow, I loved everything about it - except the storage shed that was - at some point in its history - added to the back of the house.
The shed was in bad shape. It leaked when it rained; it had rotted wood on the floor and walls, and it only had enough space in it to hold a water heater, a mop and a broom and a few beach toys.
To get into the backyard, one had to walk through the shed and take several concrete steps down to the lawn. The steps, by the way, had no safety railing. I worried all the time about a less-than-careful guest falling down the steps and suffering serious injury.
So, from the get-go, my plan was to have the shed taken down and a good-size wood deck put in. Happy to report, my dream project became a reality this week.
De-construction of the shed and construction of the deck took two hard-working people about five very long days.
Once the work was (almost) completed, it took me only five minutes to move a couple of Adirondeck chairs and a side table off the lawn and position them up there. And, only another five minutes to start planning a gathering of friends to show off the deck!
Here, the deck is almost finished. Just needs the latticework added to its bottom to hide those ugly, unmovable concrete steps!
-
2022
- Mar 17, 2022 Ivy Dishes
- Jan 29, 2022 Grace Episcopal Church
- Jan 1, 2022 100 Years
-
2021
- Aug 25, 2021 My Fig Tree
- Apr 28, 2021 Darlene's Shrimp
- Apr 24, 2021 Oleander Festival
- Feb 27, 2021 Great Winter Storm
- Feb 10, 2021 The Mourning Wave
-
2020
- Oct 26, 2020 Crepe Myrtles
- Sep 18, 2020 Trimming the Palms
- Jul 19, 2020 The Dancers
- Jul 11, 2020 Postcards
- Jun 20, 2020 Resilience Flag
- Jun 19, 2020 Juneteenth
- Jun 10, 2020 Silk Stocking
- May 27, 2020 Tree Sculptures
- May 6, 2020 Babe's Beach
- Apr 22, 2020 Opera House
- Mar 2, 2020 Texas Heroes Monument
- Feb 15, 2020 Mardi Gras Parade
- Jan 19, 2020 St. Joseph's Church
-
2019
- Dec 15, 2019 Celebrations
- Nov 6, 2019 Fresh Paint
- Oct 21, 2019 Jazz Age Series
- Oct 20, 2019 ARToberFEST
- Oct 6, 2019 Stingeree
- Oct 5, 2019 Pumpkin Time
- Oct 2, 2019 Sea Turtles
- Sep 29, 2019 Powhatan House
- Sep 24, 2019 The Dolphins
- Sep 5, 2019 Lucas Apartments
- Aug 24, 2019 Sandcastles
- Aug 9, 2019 The Daily News
- Jul 18, 2019 Beach Walk
- Jul 10, 2019 La King's
- May 25, 2019 Pleasure Pier
- May 1, 2019 Bolivar Ferry
- Mar 15, 2019 Saengerfest Park
- Jan 19, 2019 Moody Mansion
-
2018
- Dec 18, 2018 The Vintage Suitcase
- Dec 17, 2018 Festival of Lights
- Dec 2, 2018 Sunday Brunch
- Nov 21, 2018 Hendley Row
- Oct 27, 2018 Island Oktoberfest
- Sep 20, 2018 The Strand Clock
- Sep 16, 2018 St. Mary Cathedral
- Aug 11, 2018 No More Shed
- Jun 10, 2018 Rosenberg Library
- May 7, 2018 Stepping It Up
- May 3, 2018 A Happy Hour
- May 1, 2018 Ashton Villa
- Apr 21, 2018 96th Birthday
- Apr 1, 2018 Seawolf Park
- Mar 27, 2018 Ball High School
- Mar 15, 2018 East End
- Feb 1, 2018 Tremont House
- Jan 26, 2018 Menardi Gras
- Jan 24, 2018 Mardi Gras Decor
-
2017
- Dec 1, 2017 Miss Ruby
- Oct 8, 2017 Railroad Museum
- Oct 7, 2017 Tall Ship Elissa
- Sep 9, 2017 Star Drug Store
- Sep 8, 2017 1900 Storm Statue
- Aug 6, 2017 The Turquoise Table
- Aug 1, 2017 Bishop's Palace
- Jul 23, 2017 Garten-Verein
- Jul 21, 2017 Yard Work
- Jul 16, 2017 The Strand
- Jun 17, 2017 Stewart Beach
- Jun 7, 2017 The Original
- Jun 3, 2017 Murdochs
- May 27, 2017 Bryan Museum
- May 19, 2017 Firemen on Call
- May 13, 2017 Williams-Borden Neighborhood
- May 1, 2017 Oleander City
- Apr 28, 2017 God Winks


